How to Mix Lead Vocals for Pop Music
Whether you're mixing pop, rock, R&B, or metal, the core problems are the same — and so are the solutions.
1. Get the recording right first
No amount of mixing fixes a bad vocal recording. Record in the deadest space you can find — a closet full of clothes beats an untreated bedroom every time. Get your gain staging right into the interface so you're recording hot enough to avoid noise but not so hot that you're clipping. For most genres a condenser mic captures the air and detail you want, but for aggressive styles or untreated rooms a dynamic mic like the SM7B handles proximity and reflections more forgivingly and its natural midrange presence helps vocals cut through without boosting.
2. Static EQ — carve out space before you boost anything
The most common vocal EQ mistake is boosting presence before removing the junk underneath it. Start by high-passing around 80–120Hz — there's almost no useful vocal energy below that, and everything below it competes with your bass and kick.
Cut any boxy buildup around 300–500Hz that makes the voice sound like it's coming through a cardboard tube. Then use complementary EQ to create separation from whatever instrument is crowding the vocal in your specific mix: if guitars are competing in the 2–5kHz presence range, cut there slightly on the guitars and boost it gently on the vocal.
The goal is making space, not making the vocal louder.
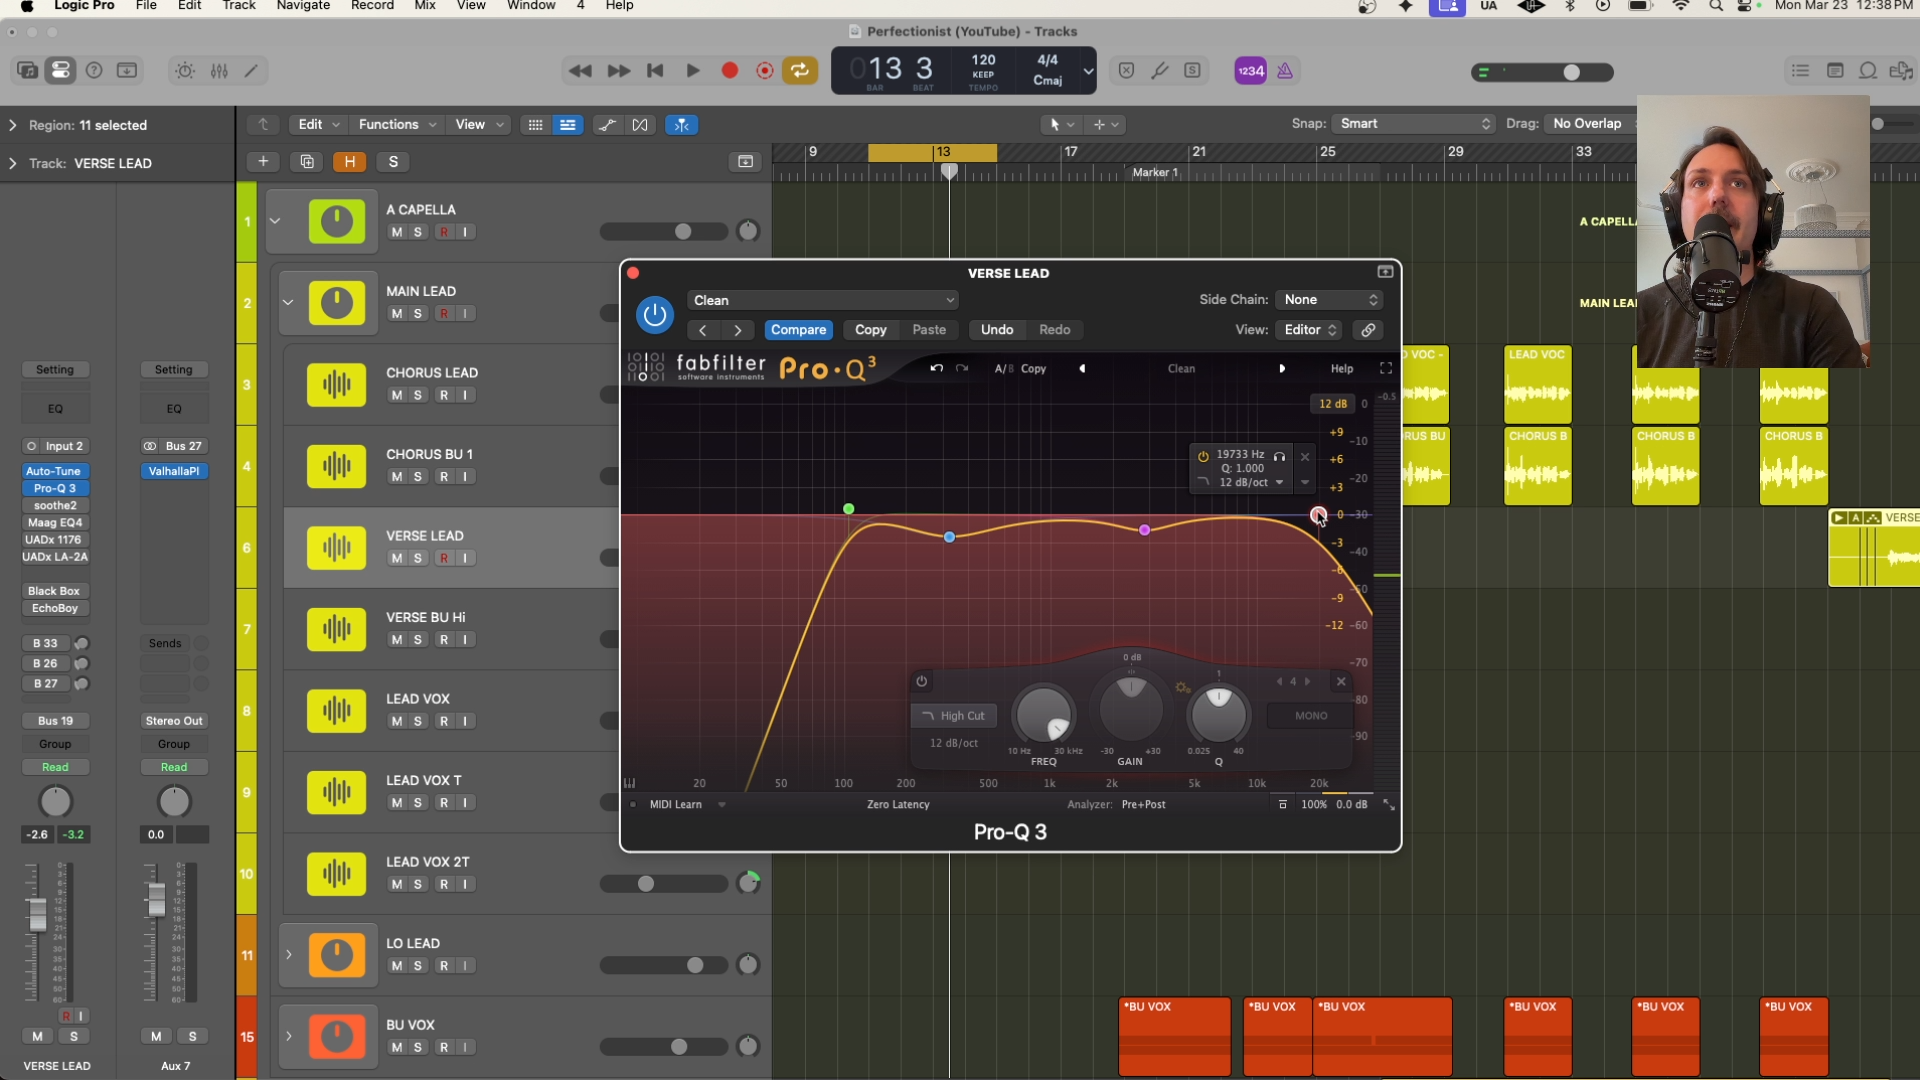
3. Dynamic EQ — fix problem frequencies in real-time
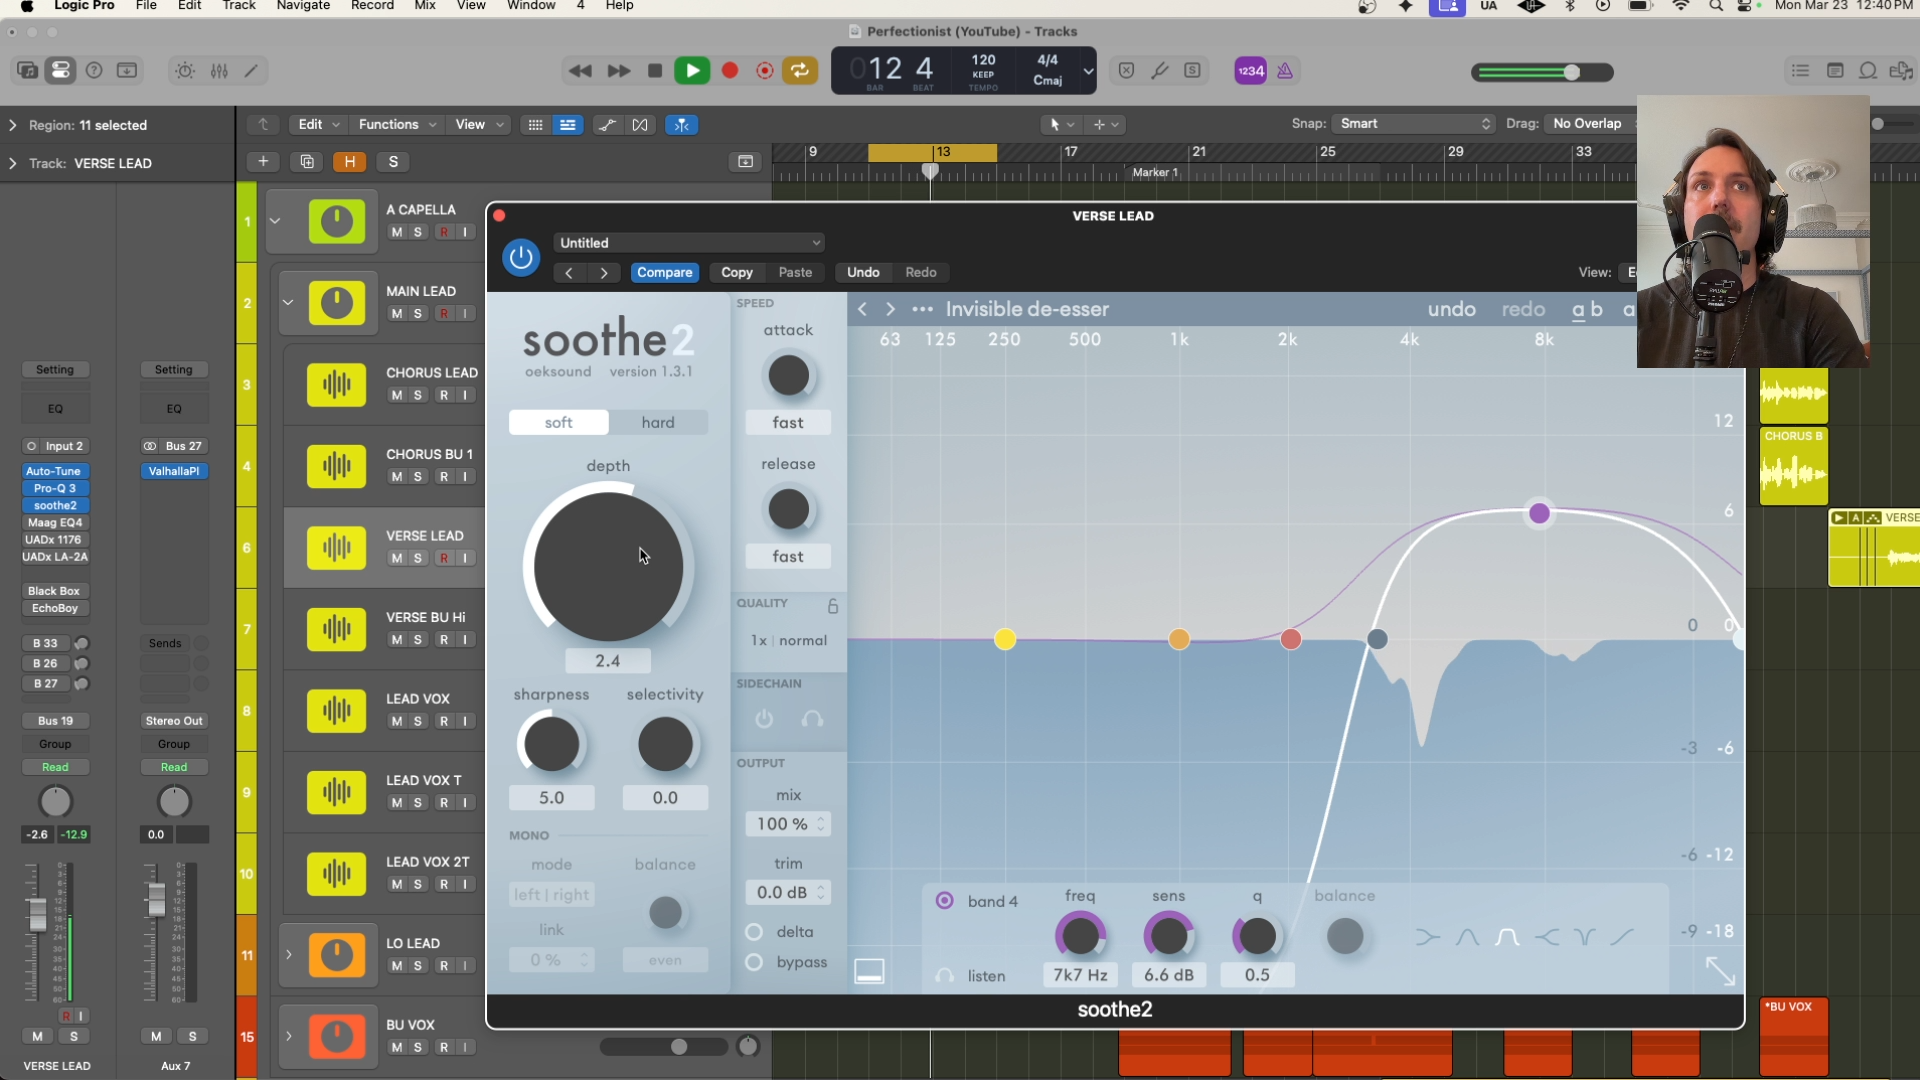
I like to throw Soothe 2 on the processing chain here because you can dynamically de-ess the track in a very transparent way, while also taking out some of the mud before it builds up
4. Air Shelf EQ — put a little air on the top end
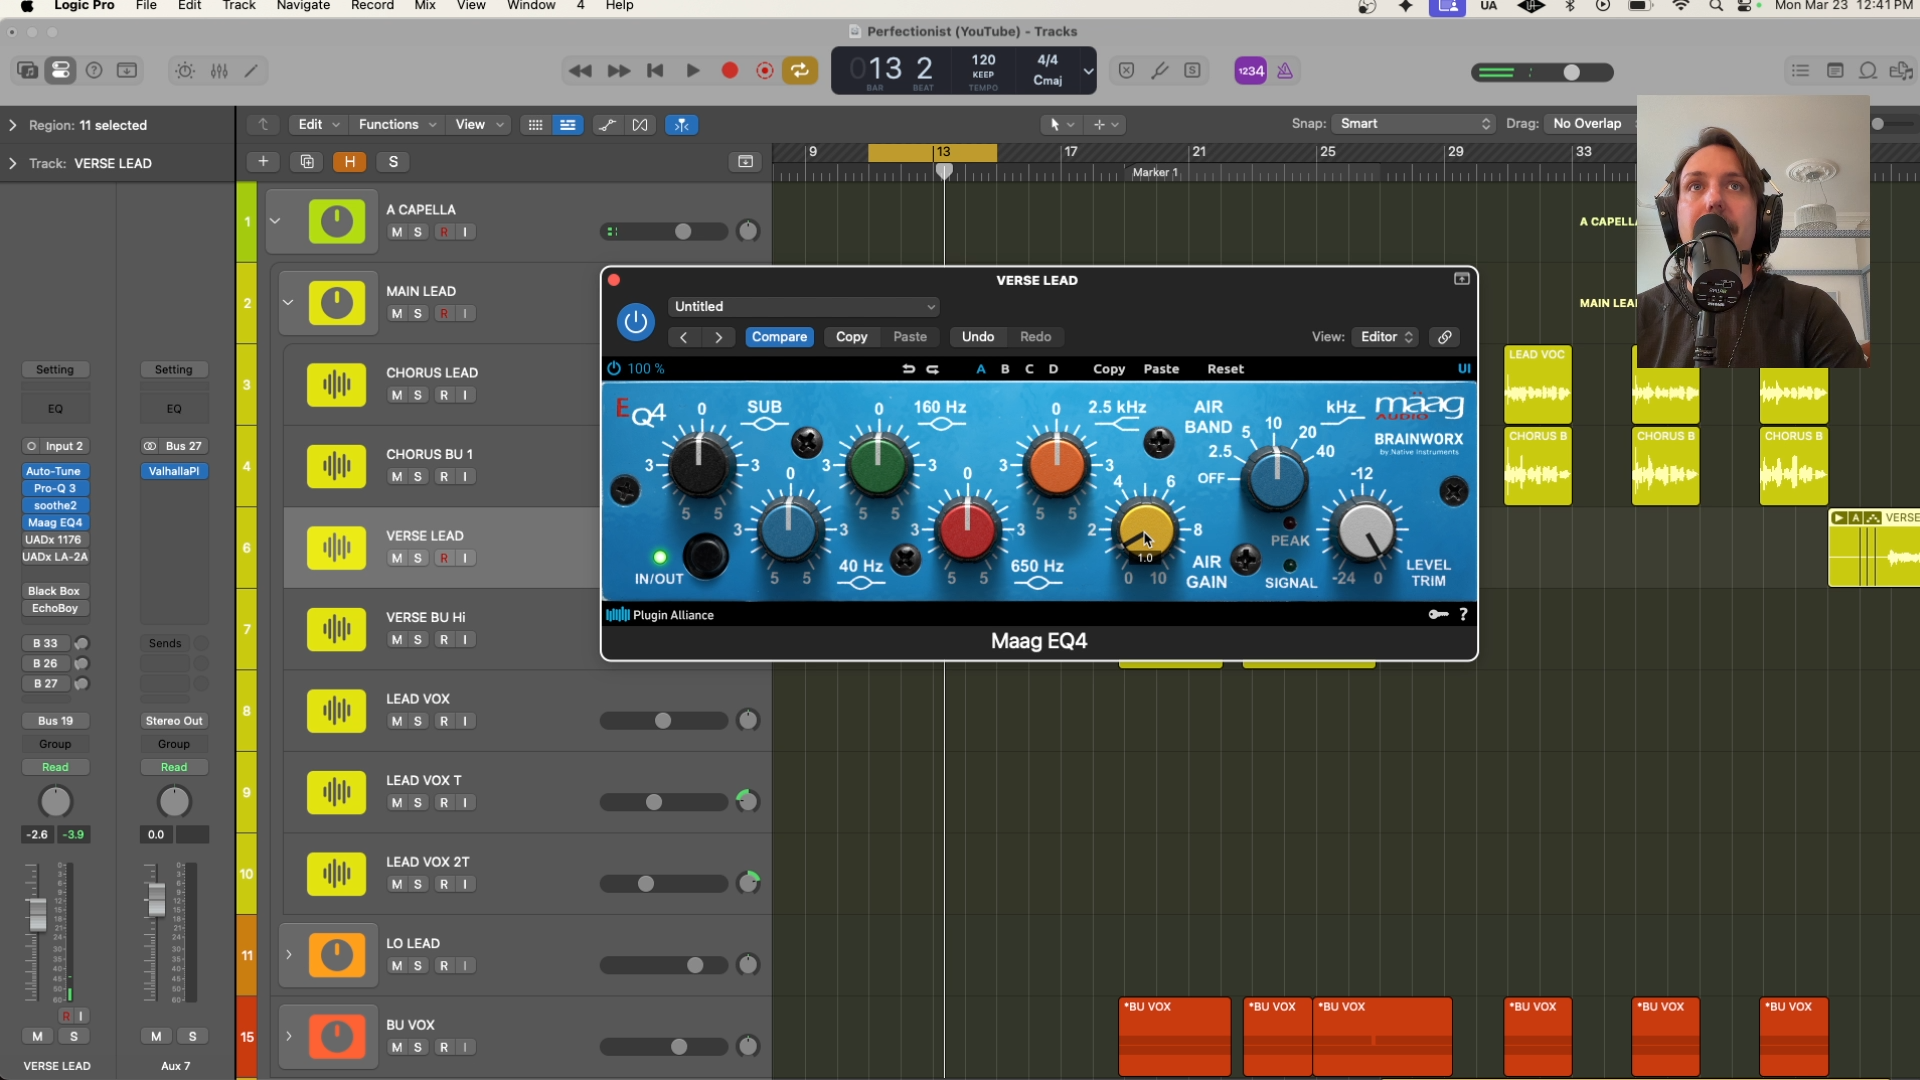
Very straightforward, just a high shelf somewhere in the 8K to 10K range. I absolutely Maag EQ4 for this because it’s top shelf is very musical and pleasant
5. Compression — two stages
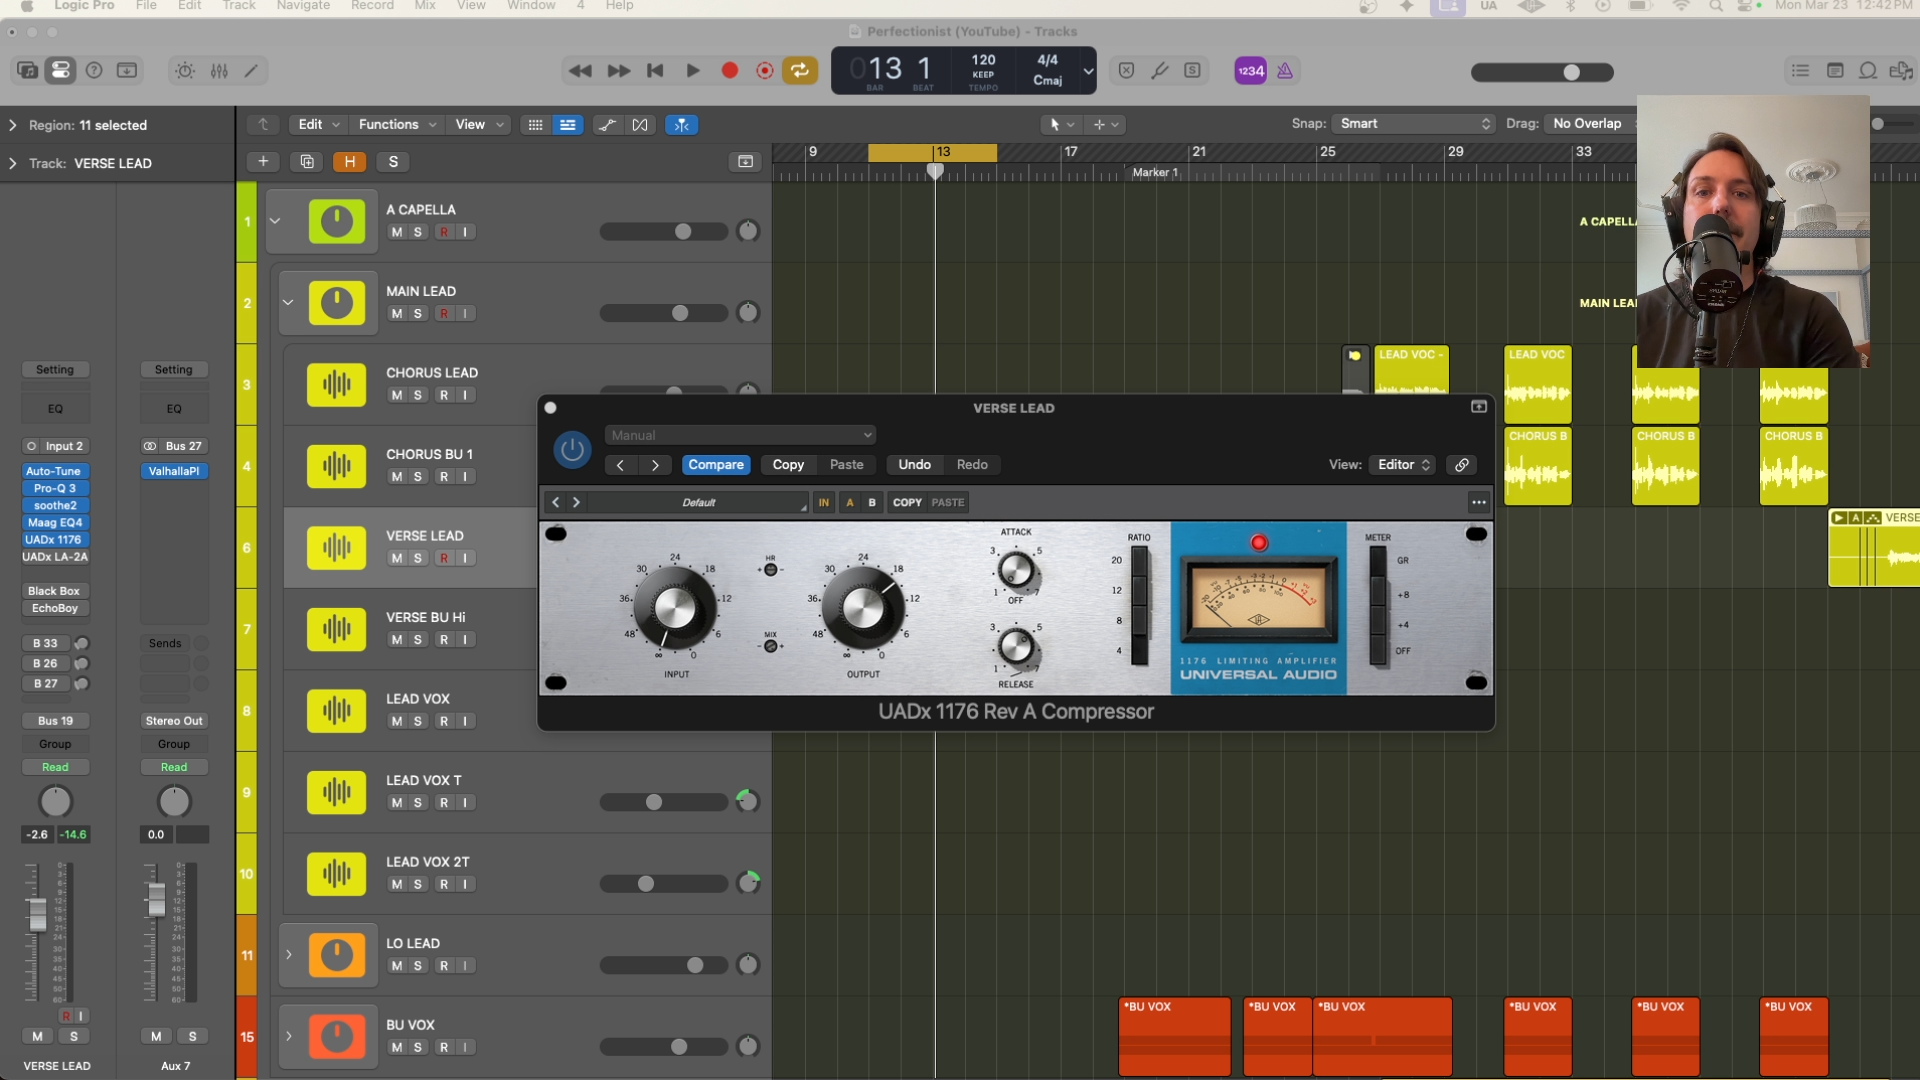
Vocals have enormous dynamic range as a natural instrument, and that range needs to be tamed before the vocal can sit reliably in a mix. Use a fast attack to tame peaks, a medium release that breathes with the tempo, and don't be afraid of 6–8dB of gain reduction on loud passages. For the first stage I use either Distressor or 1176 every time. Both are fast and work hard to keep vocals in line.
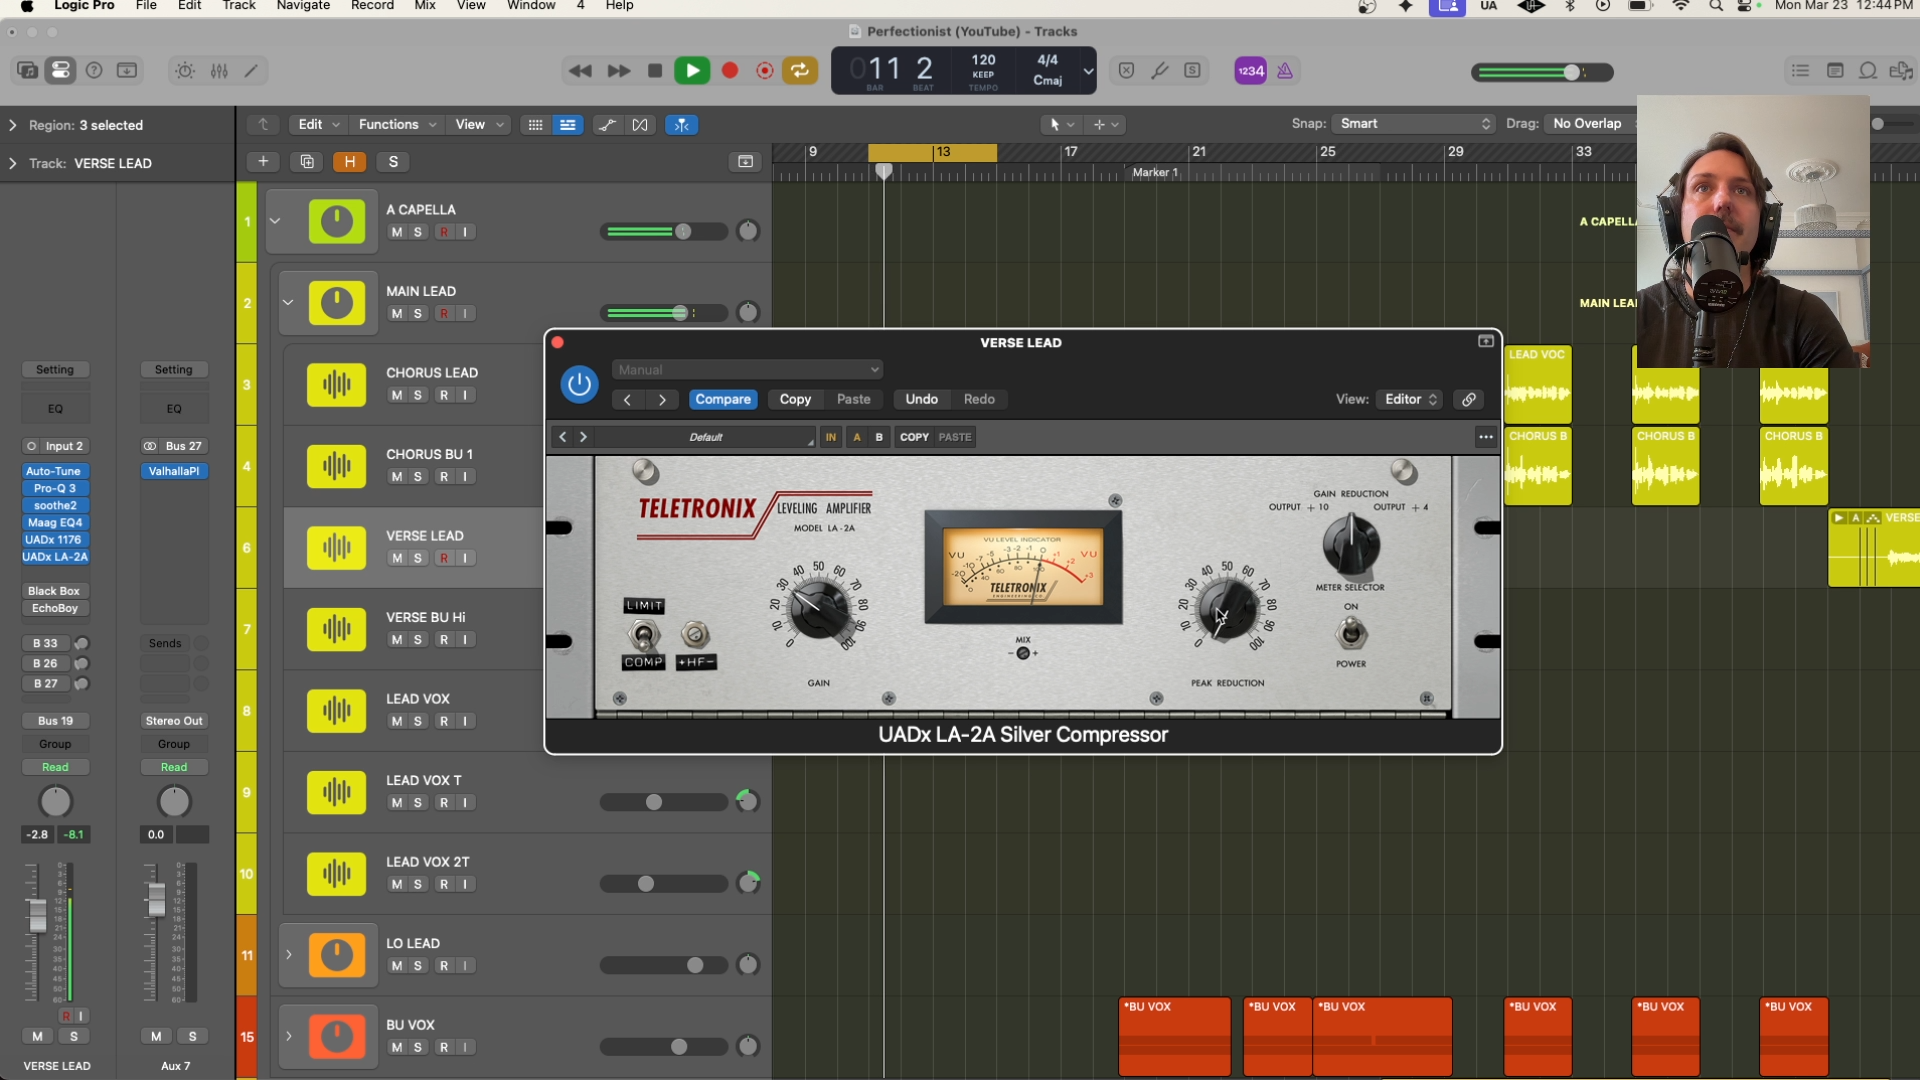
Follow it with a second, gentler compressor. I almost always use the LA-2A here (Silver of Gray) and the goal of this compressor is to lightly catch the remaining peaks, but mostly to add analog color and crispness to the vocals. Target 2db of gain reduction max.
6. Saturation — glue the vocals into the mix
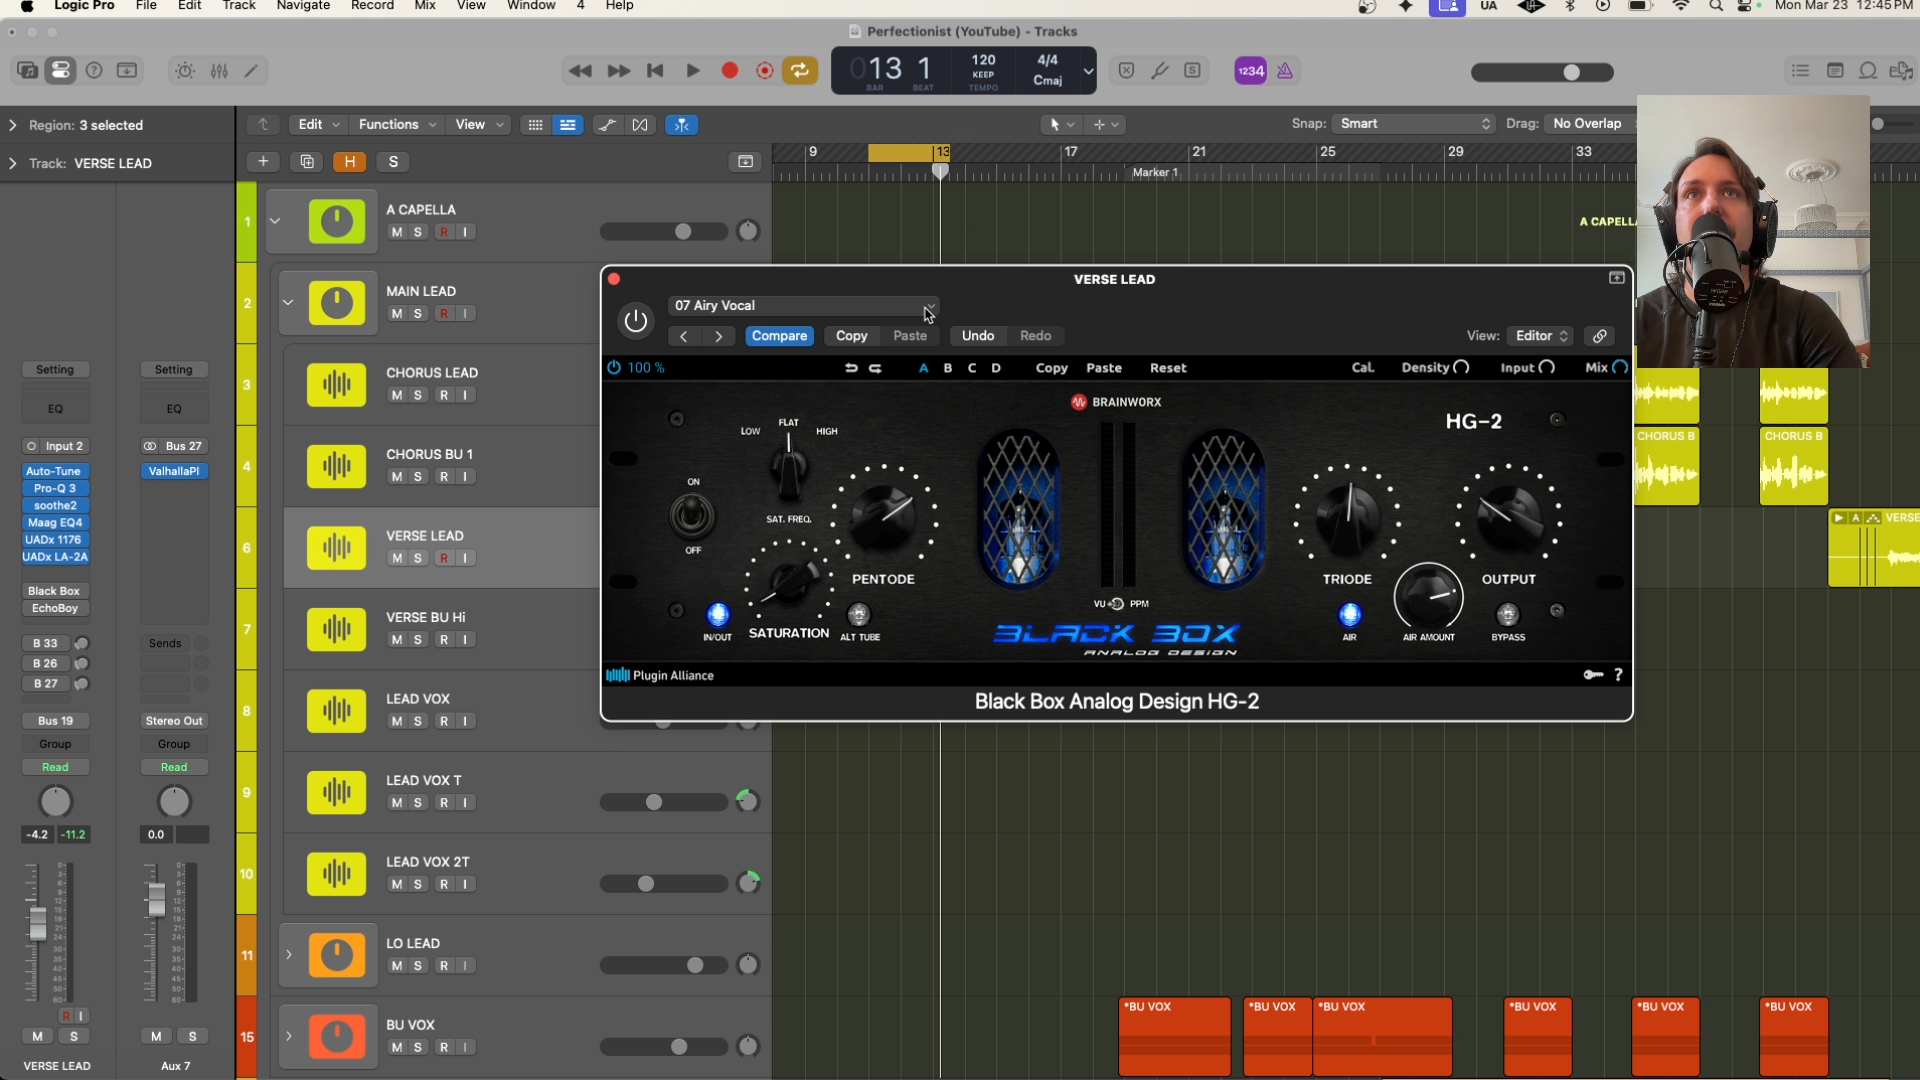
The difference between bad and good vocals can often be as simple as “are the vocals sitting IN the mix or ON TOP OF the mix. The former is good. The latter is bad. Saturation helps.
I use either Decapitator or Back Box for this, and I use a sparing amount. Dialing it in just until the vocals start to sit in the mix
7. Wet FX - gentle thickening and glue

Finally, include some additional reverb and delay, but always do this on an auxiliary send, not right on the track itself. This gives you a lot of control over how much or little you’re affecting the signal, and it permits the right level of subtlety. The goal at this stage is to hear “glue” not obvious effects.
The vocals’ job is to be the emotional center of the mix, not just the loudest element in it. That means consistent level through compression and automation, precise EQ decisions that create space rather than fighting for it, and enough layering to match the scale of the arrangement around it. Get those three things right and the vocal stops sitting on top of the mix and starts living inside it.