How to Make MIDI Drums Sound Real
It’s great that anyone can write their own drums with MIDI. But that also makes everyone’s drums sound the same — which is to say, fake and mechanical. Most bedroom producers are one workflow change away from drums that sound like they were recorded live.
Here's the complete process.
1. Set yourself up with multi-output, NOT stereo
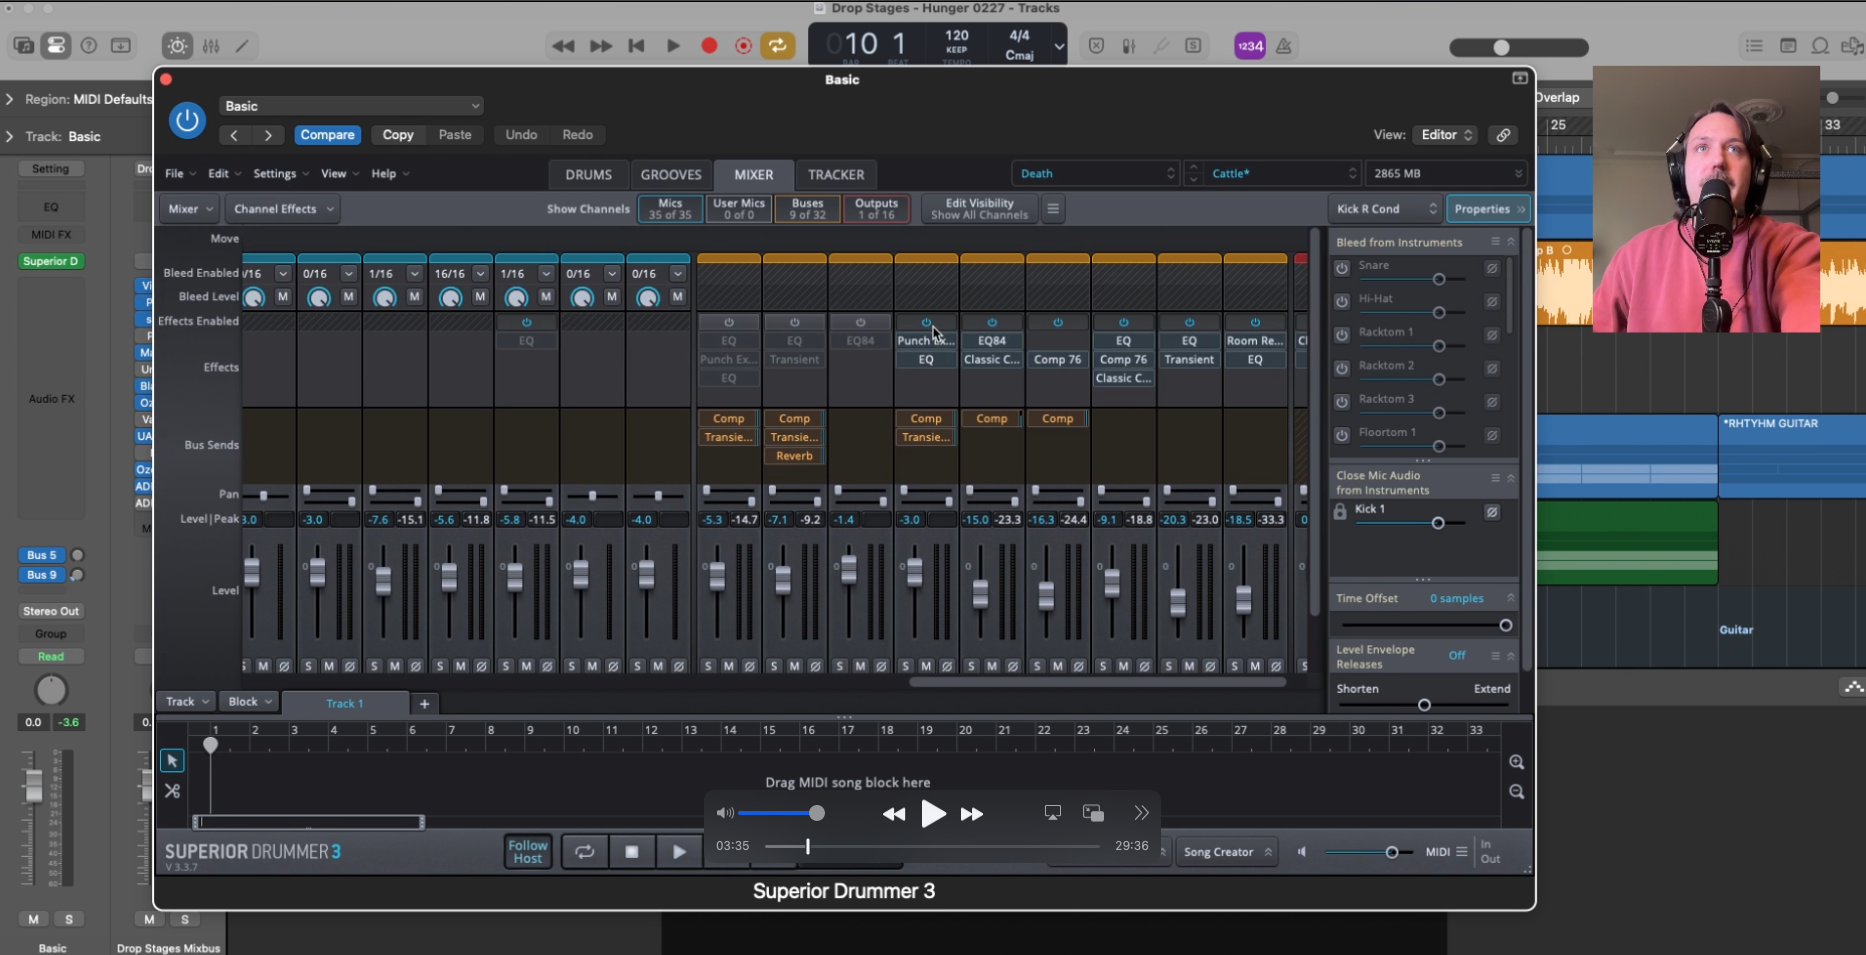
The first thing you need to do before anything else is route your drum plugin to multi-output. A single stereo output means you're mixing the entire kit on one bus — no individual mic control, no real processing decisions, no realism. Set up separate outputs for kick in, kick out, snare top, snare bottom, hi-hat, toms, overheads, and rooms.
Treat it exactly like you received stems from a real tracking session.
2. Choose the right kit and mic configuration
Before you touch a single plugin or fader, make sure you've chosen a kit that actually fits the genre. A jazz kit with brushed cymbals isn't going to become a metal kit no matter how hard you tweak it, for instance. Pick a kit with the right weight and character, and make sure your mic configuration includes not only close mics, but also overheads and rooms. Those room and overhead channels are carrying more realism than anything else in your session. Without them it sounds like different robo drums cobbled together.
3. Remove ALL the built-in processing in the plugin
Out of the box, most drum plugins ship with EQ, compression, and limiting baked into every channel to make presets sound polished on first listen. They think this helps you. It doesn’t.
Turn all of that off. You want to start from the raw, unprocessed sound of a real kit in a real room, and then make every processing decision yourself. This is the foundation that enables good producer to make MIDI drums sound real, starting with a kit that sounds real.
4. Add realistic bleed across the microphones
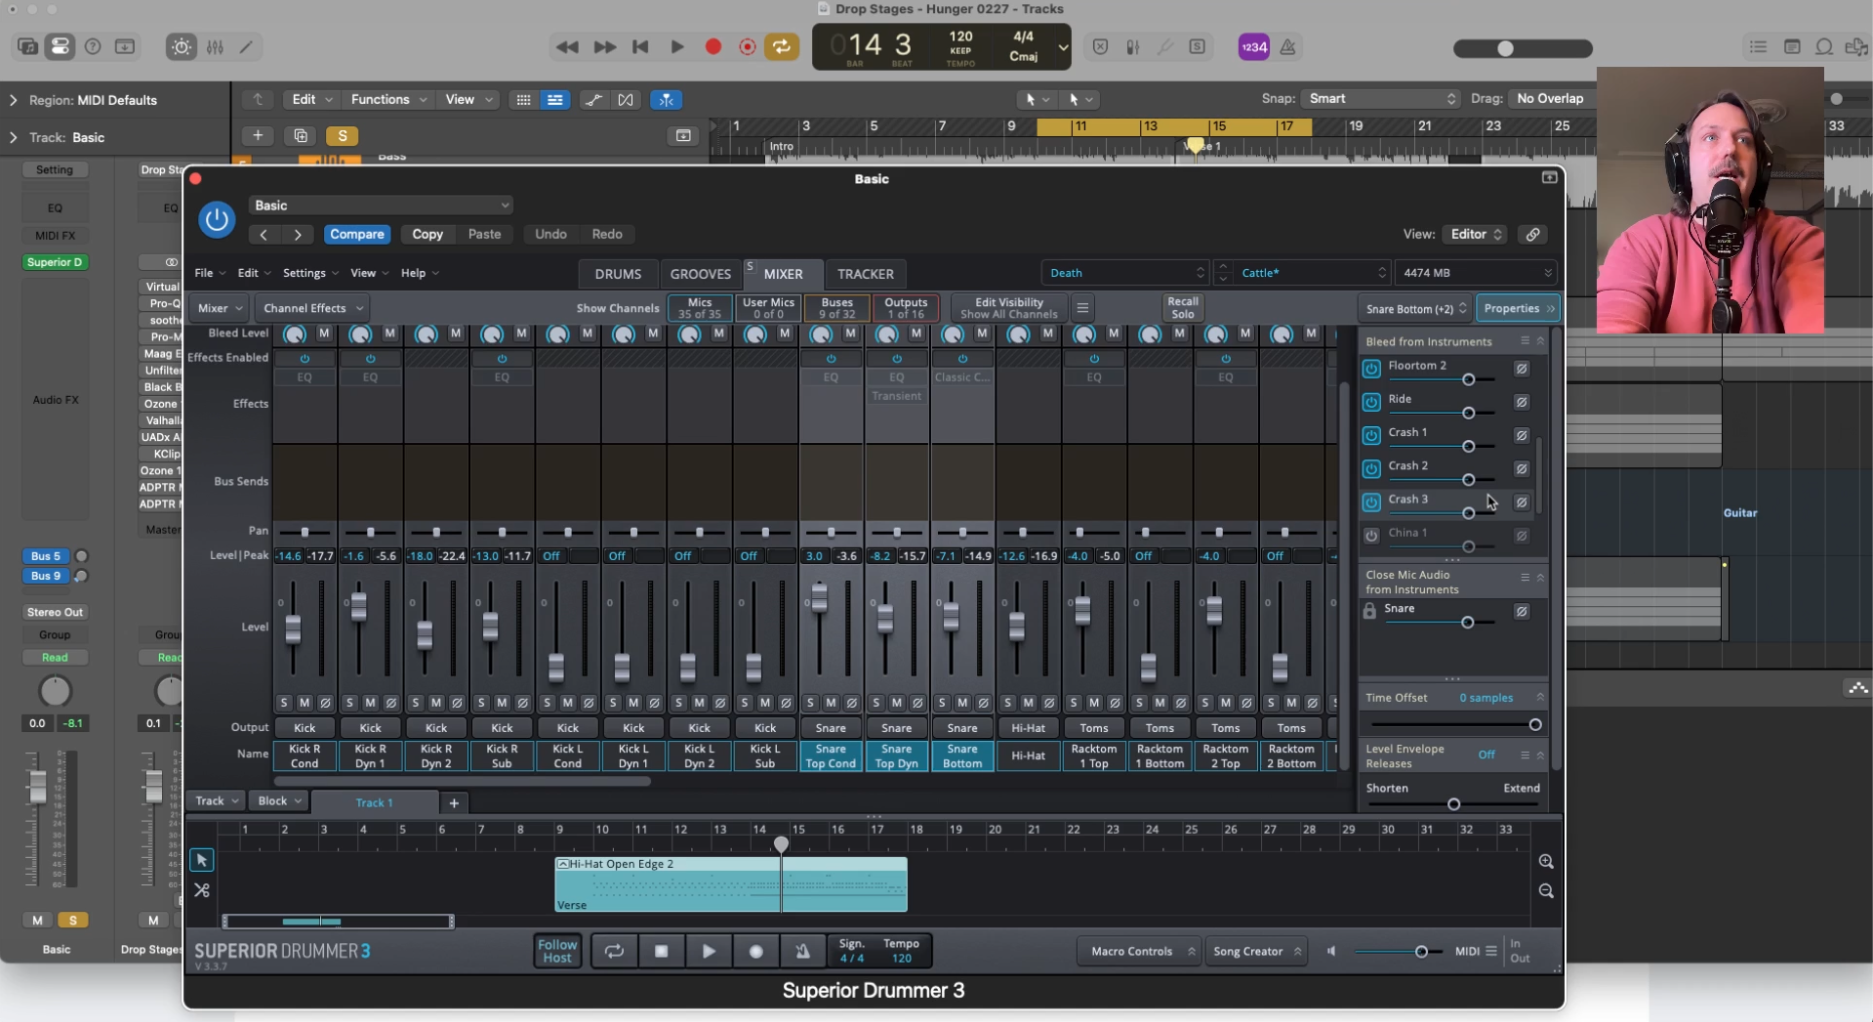
Bleed is what glues the components of drums together, so they don’t sound like individual samples. When a snare hits, the overheads hear it. When the kick hits, the toms hear it. Enable bleed across your mic channels in the plugin and dial it in until the kit starts to feel cohesive and alive. Think critically about mic position. If you have a stereo pair of overhead mics, they would naturally pick up all the cymbals, not one or two, and probably the shells as well, etc. This single step will do more for realism than any amount of processing downstream.
5. Humanize the rhythm

Real drummers not perfect, and those imperfections in how hard or on-beat they hit the drums are what make each drummer unique. So we need to make the MIDI drums imperfect too.
Timing humanization is more important than velocity humanization, and most people do it backwards. The human ear detects rhythmic rigidity before it detects dynamic rigidity.
Randomize timing, but do it intelligently — kick drum should be very tight (drummers lock their foot to the grid harder than anything else), hi-hats can breathe a little more, and ghost notes should naturally sit slightly behind the beat.
Don't apply uniform randomization across the whole kit. Think about how a real drummer would actually land each hit.
6. Humanize the velocity

Once your timing feels human, work on velocity — and the goal isn't random variation, it's patterned variation.
Real drummers hit harder coming out of a fill, lighter during a groove, and accent specific beats with intention. Use your DAW's velocity editor (or the one in your plugin) to shape the dynamics of the performance so it feels like a drummer who is responding to the song emotionally, not a machine executing a pattern. Pay special attention to the relationship between kick and snare — when one gets louder, the other often gets softer.
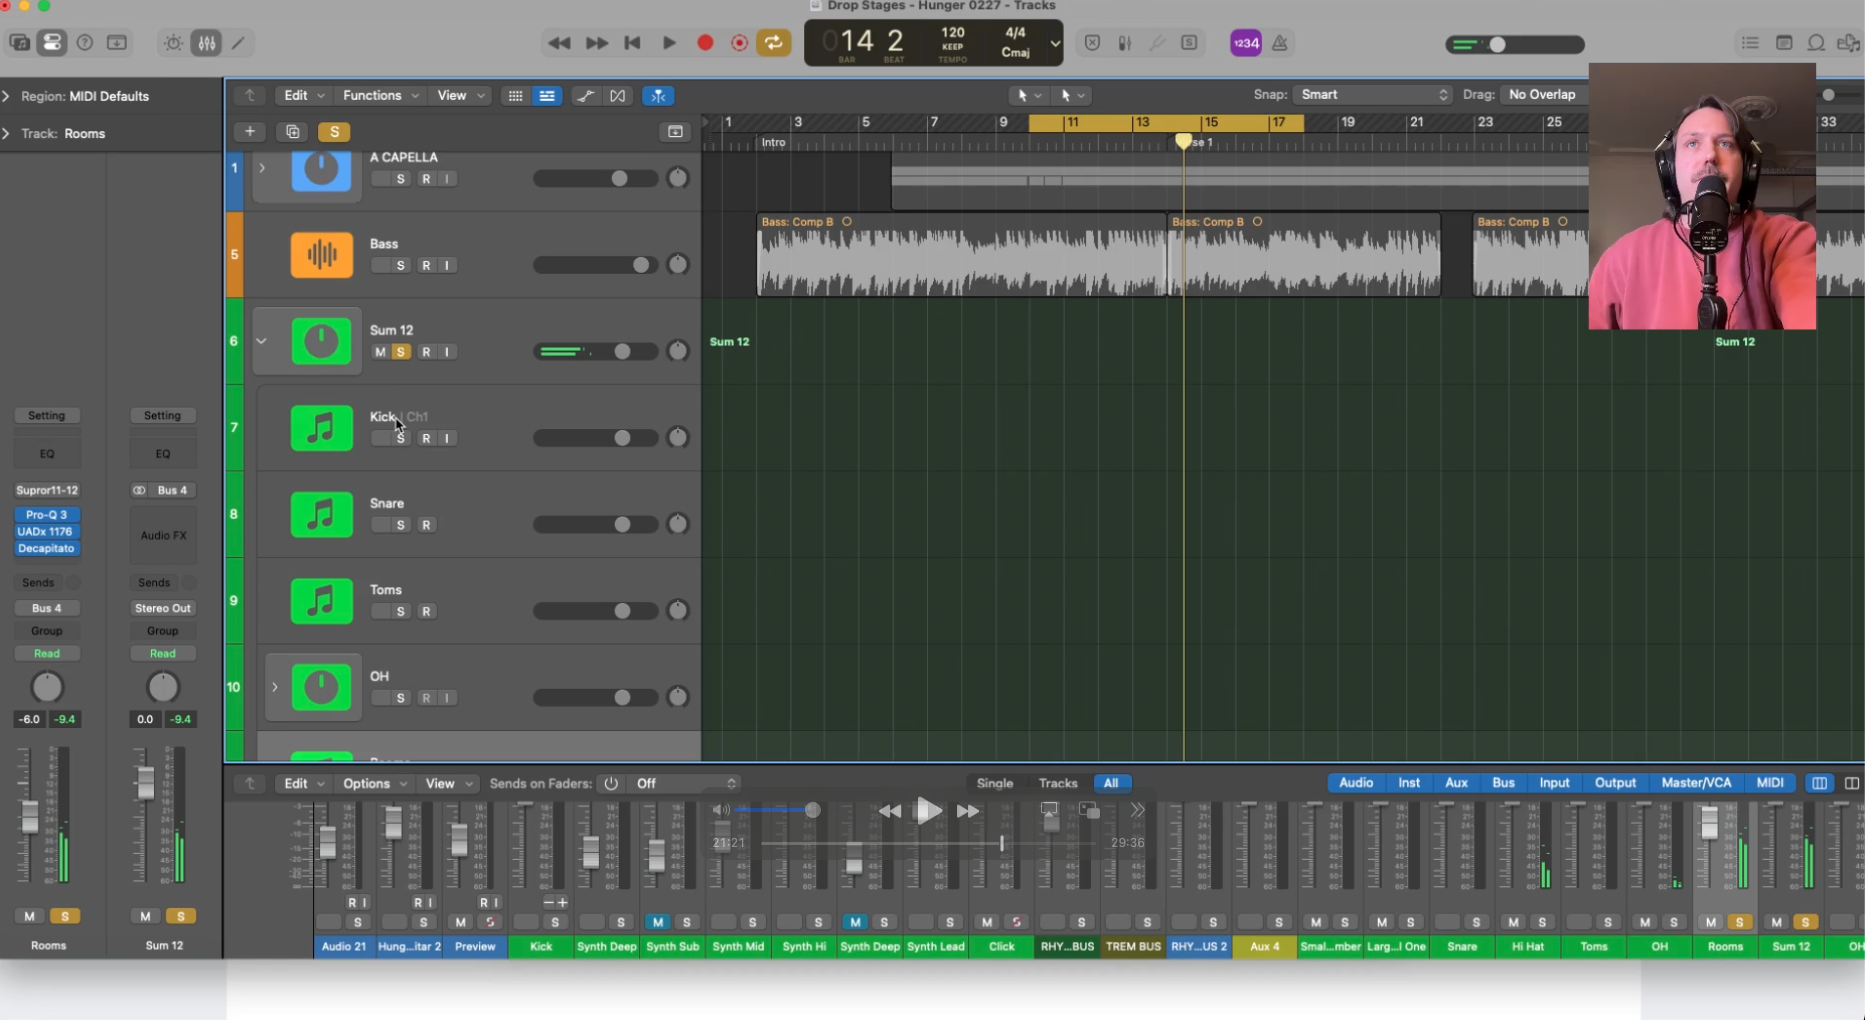
7. Create tracks for each drum mic in your DAW so you can process them independently
Once your performance is humanized, bring every multi-output channel into your DAW as its own track. This is the reason we selected multi-output at the onset of this process, so we could work on the drums independently the way we would on a live recording.
Kick in, kick out, snare top, snare bottom, hi-hat, each tom, overheads, rooms — all separate. This is the moment the plugin stops being a self-contained drum machine and becomes a real mix session. If everything is still living inside the plugin on a stereo output, you don't actually have control over anything.
8. Apply track-level processing and be gentle — especially with compression.
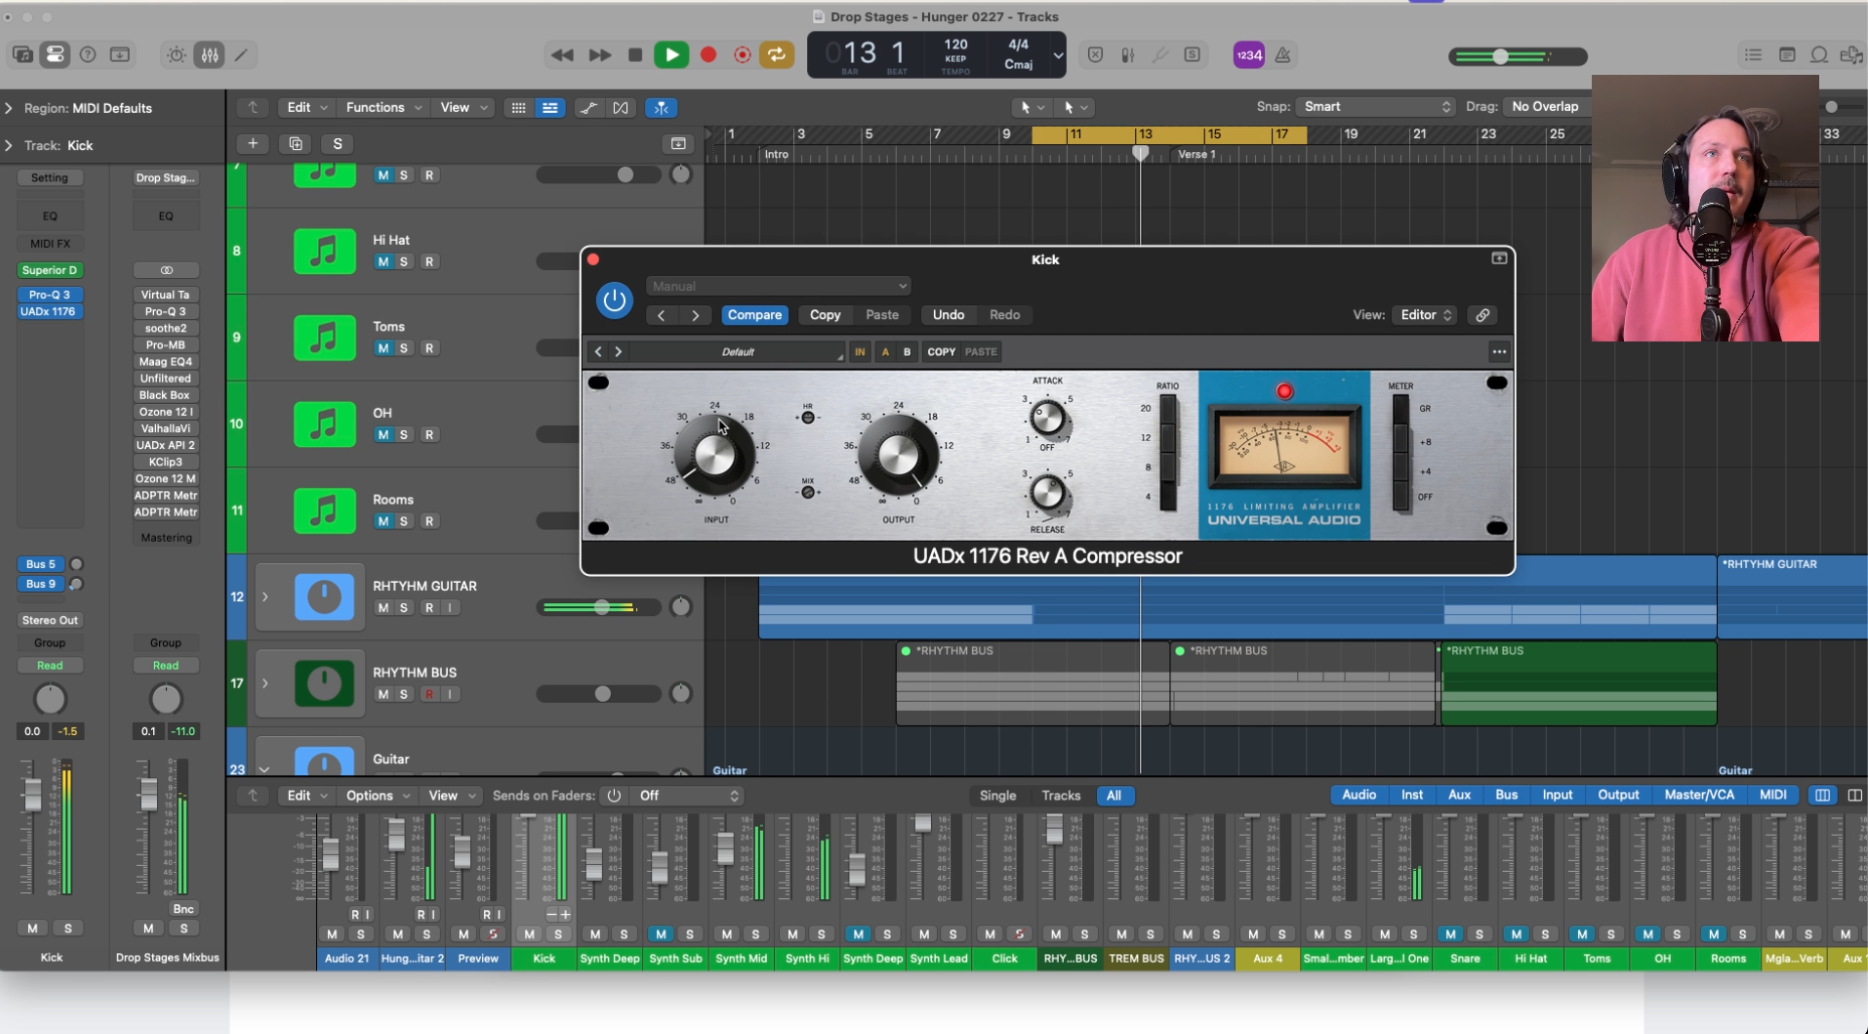
Target 3–5 dB GR on your shell compression, not 10+ (seriously). This is where most people over-process and kill the life they've built up through humanization. On your shells, keep compression subtle — 3 to 5 dB of gain reduction maximum. You're adding punch and control, not squashing transients. Use EQ to sculpt each mic channel for its specific role: sub and attack on the kick, crack and rattle on the snare, air and shimmer on the overheads. Less is more at this stage.
9. You CAN slam the room mics — because that brings the room sound forward, which is more realistic
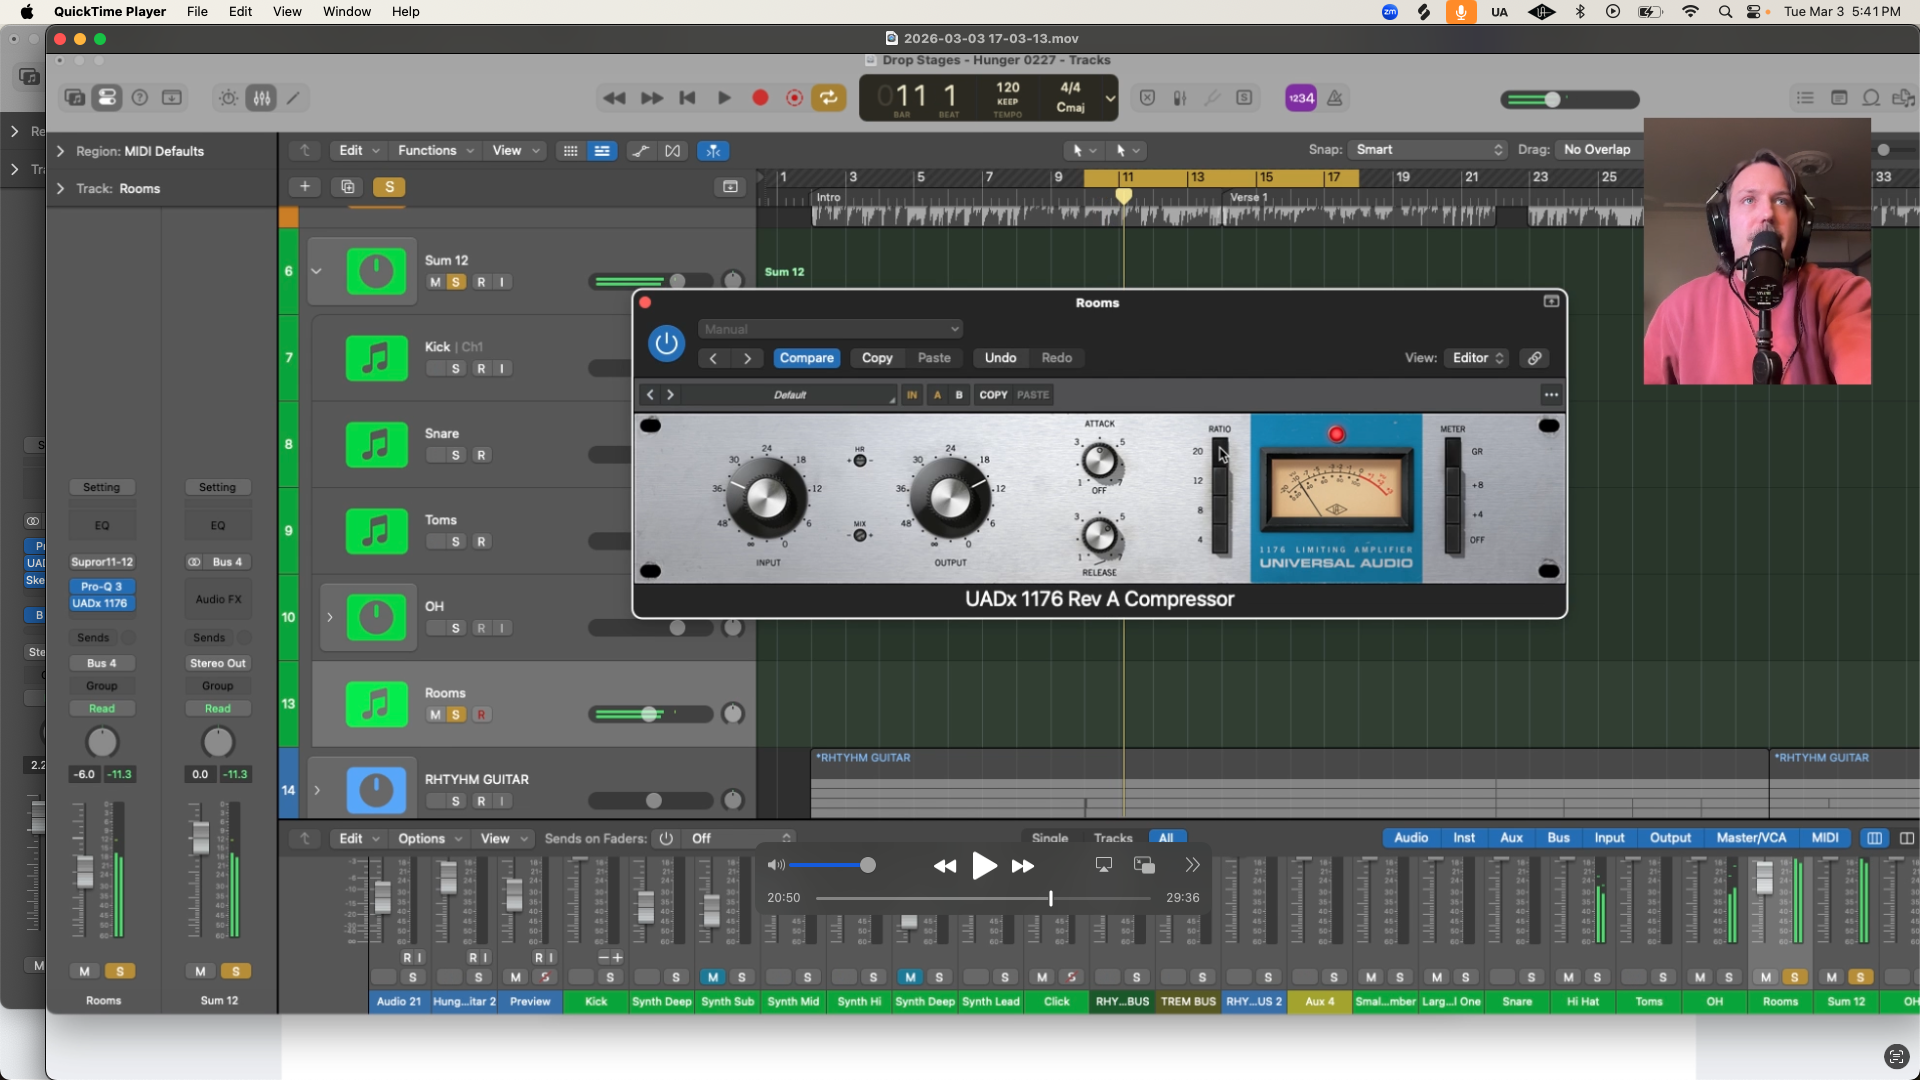
While your shell mics need gentle compression, your room mics can take a beating. Heavily compressing the room channels brings up the ambient sound of the space and pushes it forward in the mix, which is exactly what happens when you listen to a drummer playing in a live room. Slam those room mics with fast attack compression and let the room bloom. It sounds more like a real room, not less. This is a critical component to the glue on your kit.
10. Bus it all together
Once your individual channels are processed, route everything to a single drum bus. This is where the kit stops being a collection of processed samples and starts becoming one cohesive instrument. Set your levels so the overall balance feels right before you touch anything on the bus. The kit should already sound convincing at this point.
11. Process the bus with compression and especially with tape saturation
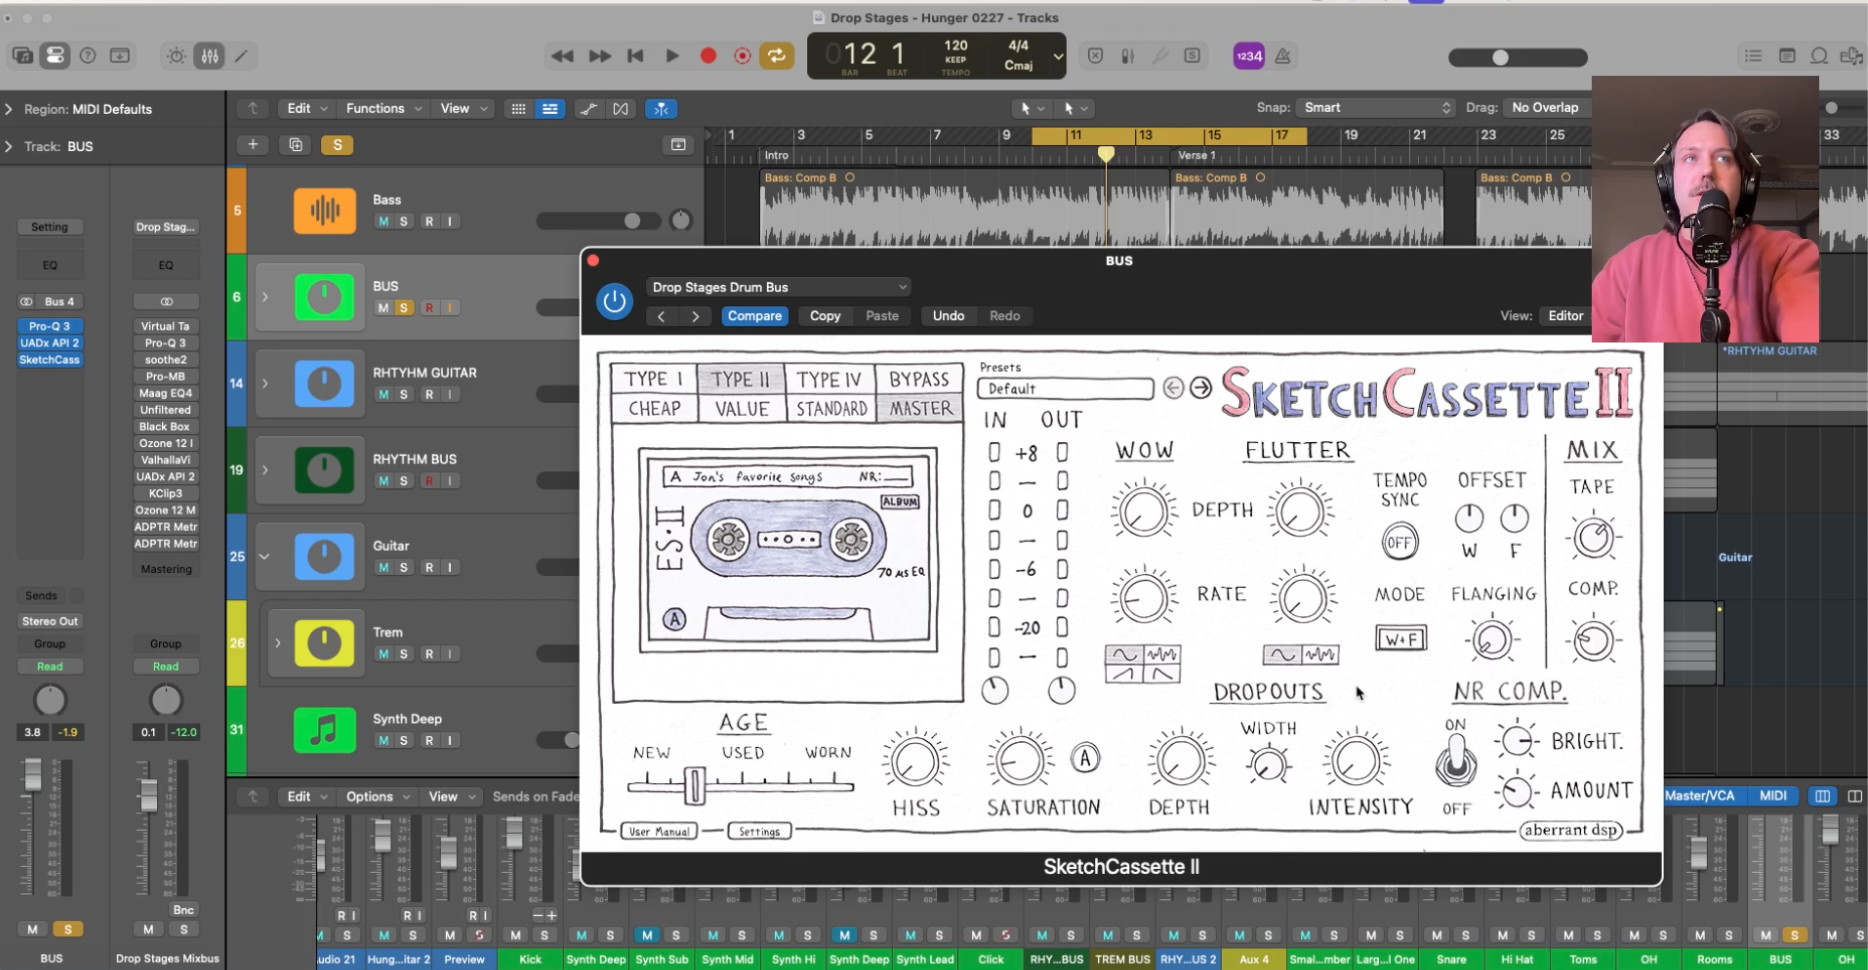
On the drum bus, a gentle glue compressor (think API 2500 in THRUST mode, 2–4 dB GR, slow attack around 10ms) pulls the kit together without squashing the transients you've carefully preserved. After the compressor, tape saturation is non-negotiable — it rounds off harsh edges, adds harmonic density, and gives the kit that subtle warmth that makes programmed drums feel organic. Keep it subtle, 1–3% wet, but don't skip it.
12. Add one final reverb send for the entire drum bus — use a short ambience to glue it all in

The last step is a single short room reverb on the drum bus send — something in the 0.8 to 1.2 second range with a tight pre-delay around 10–20ms. This isn't about adding obvious reverb; it's about placing the kit in a believable acoustic space and making every element feel like it exists in the same room. Keep it low in the mix. If you can clearly hear the reverb, it's too loud. You should only notice it when you bypass it.
The goal isn't perfect drums. It's drums that sound like a real drummer playing imperfectly on purpose.